
Hello elderberry lover!

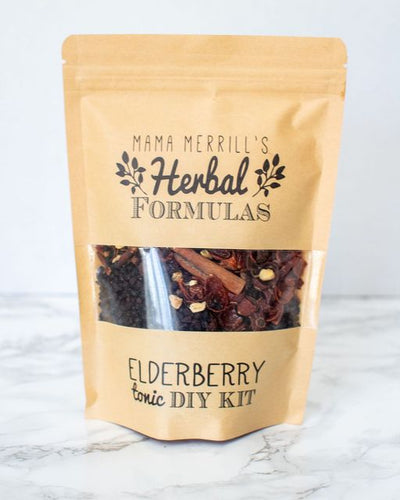
You've made your purchase of one of our Elderberry Tonic DIY Kits, and look at you go! This is truly a simple recipe to follow and we will walk you through step-by-step!
The herbs in your kit are the same high quality we use for all of our products, and we just know you are going to love the result!
Ok, are you ready?
You will need:
DIY Kit
Fine Mesh Strainer (if you are not using the included muslin bag)
Glass bowl
Medium-size pot
Sturdy Wooden Spoon
Funnel (optional, just makes it easier)
24 or 32 oz glass jar and lid for storing
STEP 1- DUMP & SIMMER
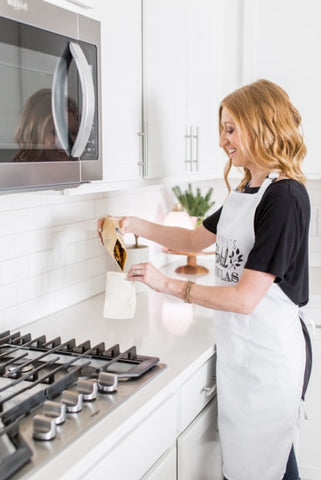
You can dump the entire contents of the KIT into the included muslin bag, OR you can pour them directly into your medium-size pot on the stove if you have a fine-mesh strainer to use instead.

Make sure to cinch down the string on your muslin bag tightly and tie it to keep any contents from escaping while simmering.

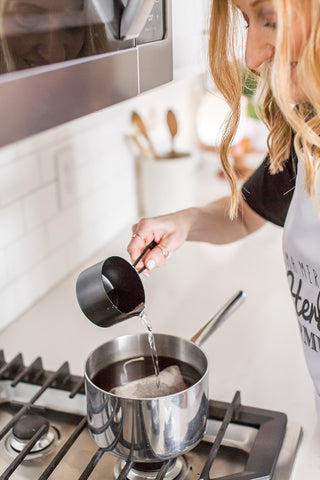
Place the bag (or the contents if using the strainer method) into a pot along with 4 cups (32 oz) of water.
You will lose a bit of water during the simmering process due to evaporation, and you will end up with 24 oz. or so of delicious, healthy, concentrated tonic!
Bring to a boil, then reduce heat to low and simmer 30-40 minutes (depending on how strong you want your tonic).
Please note: some people think elderberries smell a bit like stinky feet while they are cooking. It's ok. The taste will not resemble the smell so don't panic!
Step 2- COOL & SQUEEZE
Remove pot from heat, remove the bag with a slotted spoon, place inside a glass bowl, and allow both the tonic and the bag to cool for 10-15 minutes.
If using the bag, once it is cooled enough to touch, you will need to make sure to use clean hands to squeeze out the remaining good stuff from the berries & herbs.
(Kids love this messy fun of course. Warning: it can stain your hands a bit.)

If straining, pour your tonic through a fine mesh strainer into a glass bowl, remove cinnamon sticks, and press down berries with a spoon into strainer so no goodness gets forgotten!
Discard elderberry mush.
Save your reusable bag for other herbal concoctions or loose leaf tea!
Step 3- SWEETEN IT UP, BUTTERCUP
Once your elderberry tonic concentrate is cooled, whisk in honey to taste.
We recommend 1/2 cup of local honey, but you can also use maple syrup, agave, or any other sweetener of choice.
It is important to sweeten your tonic not only to improve the taste, but to help preserve it. If you do not sweeten it, we recommend immediately freezing your elderberry concentrate in an ice cube tray and pull your cubes from the freezer as needed.
Step 4- BOTTLE IT, BABY!

You did it! Do you feel like an herbalist mixing up amazingness in their apothecary? You should!
Using a funnel, pour into a mason jar (24 or 32 oz) and use a tightly-sealing lid.

Refrigerate and use within 2 months. Always be aware of any major changes in smell/appearance just like any other fresh food product and discard if needed.
Suggested use:
We recommend 1 tsp a day for children 6 and under and 1 Tbsp a day for ages 7+ during cold and flu season and/or during allergy season.

1 comment
I would like to know more about mamamerrils so will fill out form for newsletter, and read more on your website. Initially I came to you with a desire to buy elderberries. Still want to. In addition, in what I have seen, am possibly interested in understanding more on your products available for my daughter, a Doula, with 6 daughters she has birthed at home. I have been using Elderberries off and on for nearly a decade and have this month decided to locate a local source. Thanks. Michael